From growing up on a small farm in upstate NY, I have vivid memories of holding the blow-torch for my dad on a plumbing project when I was probably 10 years old. He did all the work on the house himself (with the occasional help from an offspring), and so when it came time to electrify my house, I decided to DIY it as well. Here's how it went.
The Stove
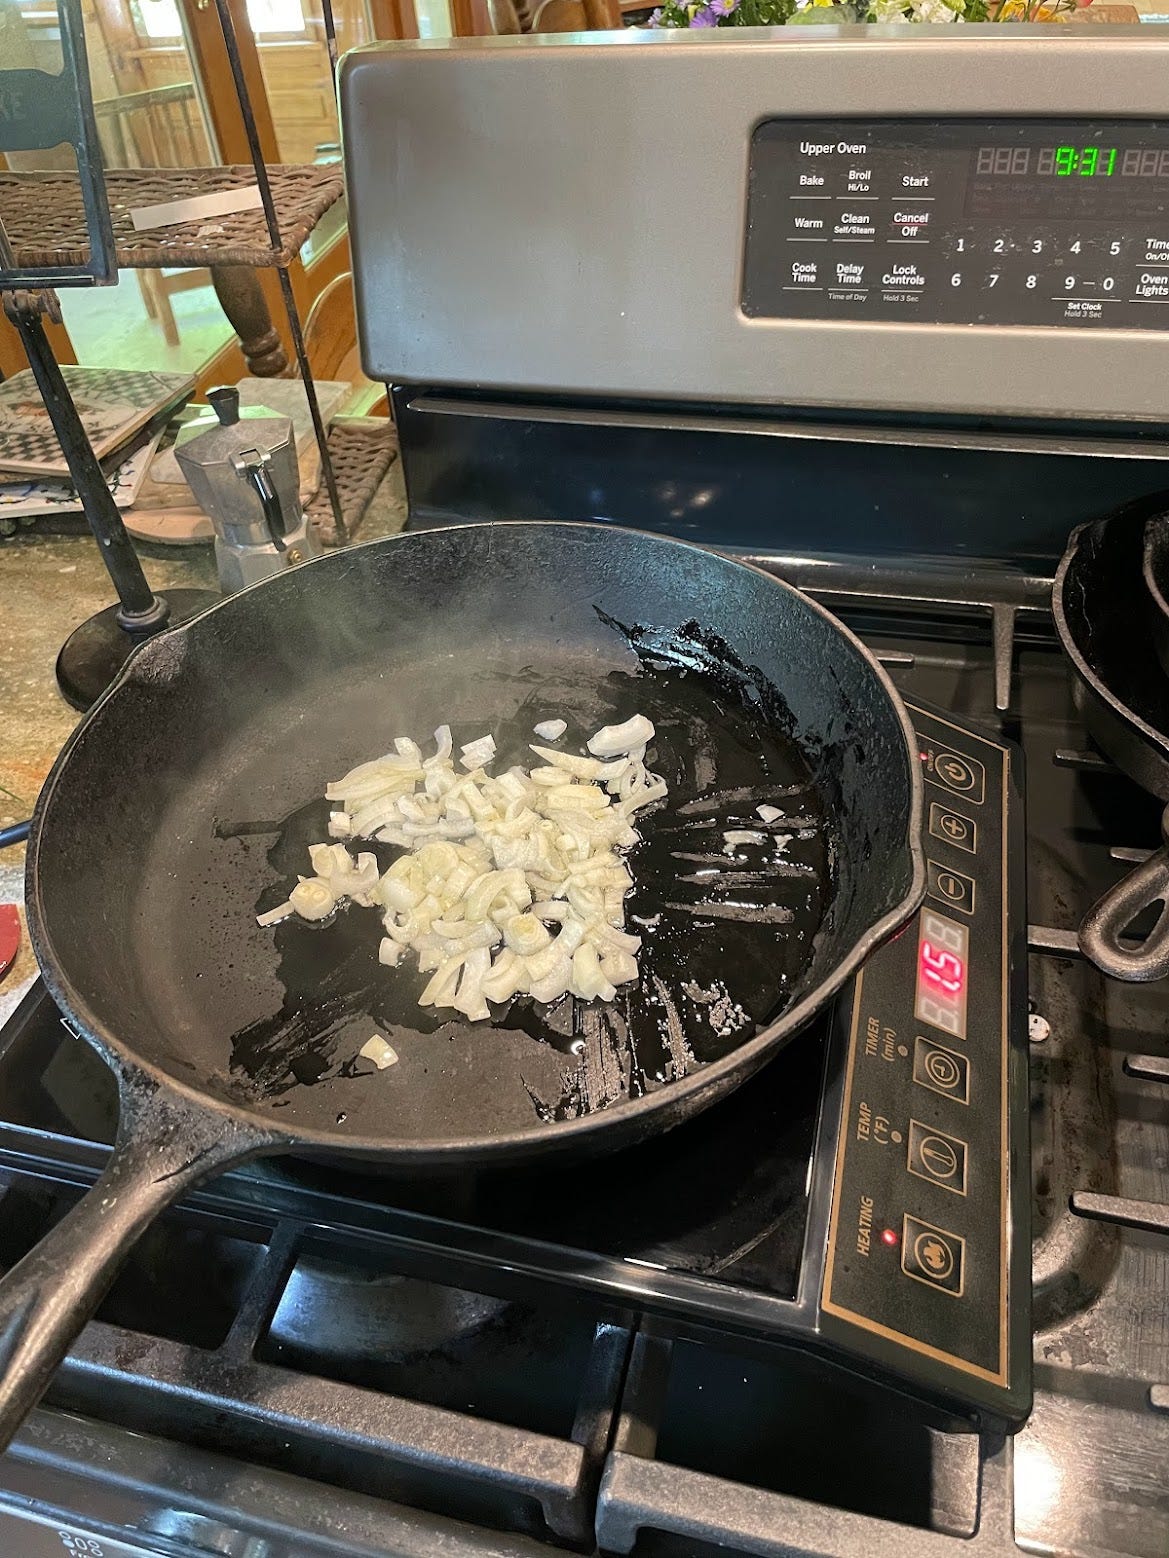
We have a propane stove. Perhaps some love them, but for me it means a dose of asthma and venting all the heat out of the house. Fortunately, there's one very simple solution I got from a friend - we bought a couple of $50-$100 induction hot-plates online, and placed them on top of the stove. They serve most of our cooking needs, and give us a chance to learn what pots work (cast iron: yes, enamel and steel: yes, glass and aluminum and copper: no).
In some respects this is a poor facsimile to a proper induction stove-top, however. The burners, although more responsive than either "classic" electric or propane, are still small. At some point, we hope to finish our upgrade, either to a normal induction stove (perhaps keeping our propane camp-stove around in-case of multi-day power outages), or getting one of those swanky stoves with a built in battery and a 110V hookup which avoids requiring any electrical work.
The Water Heater
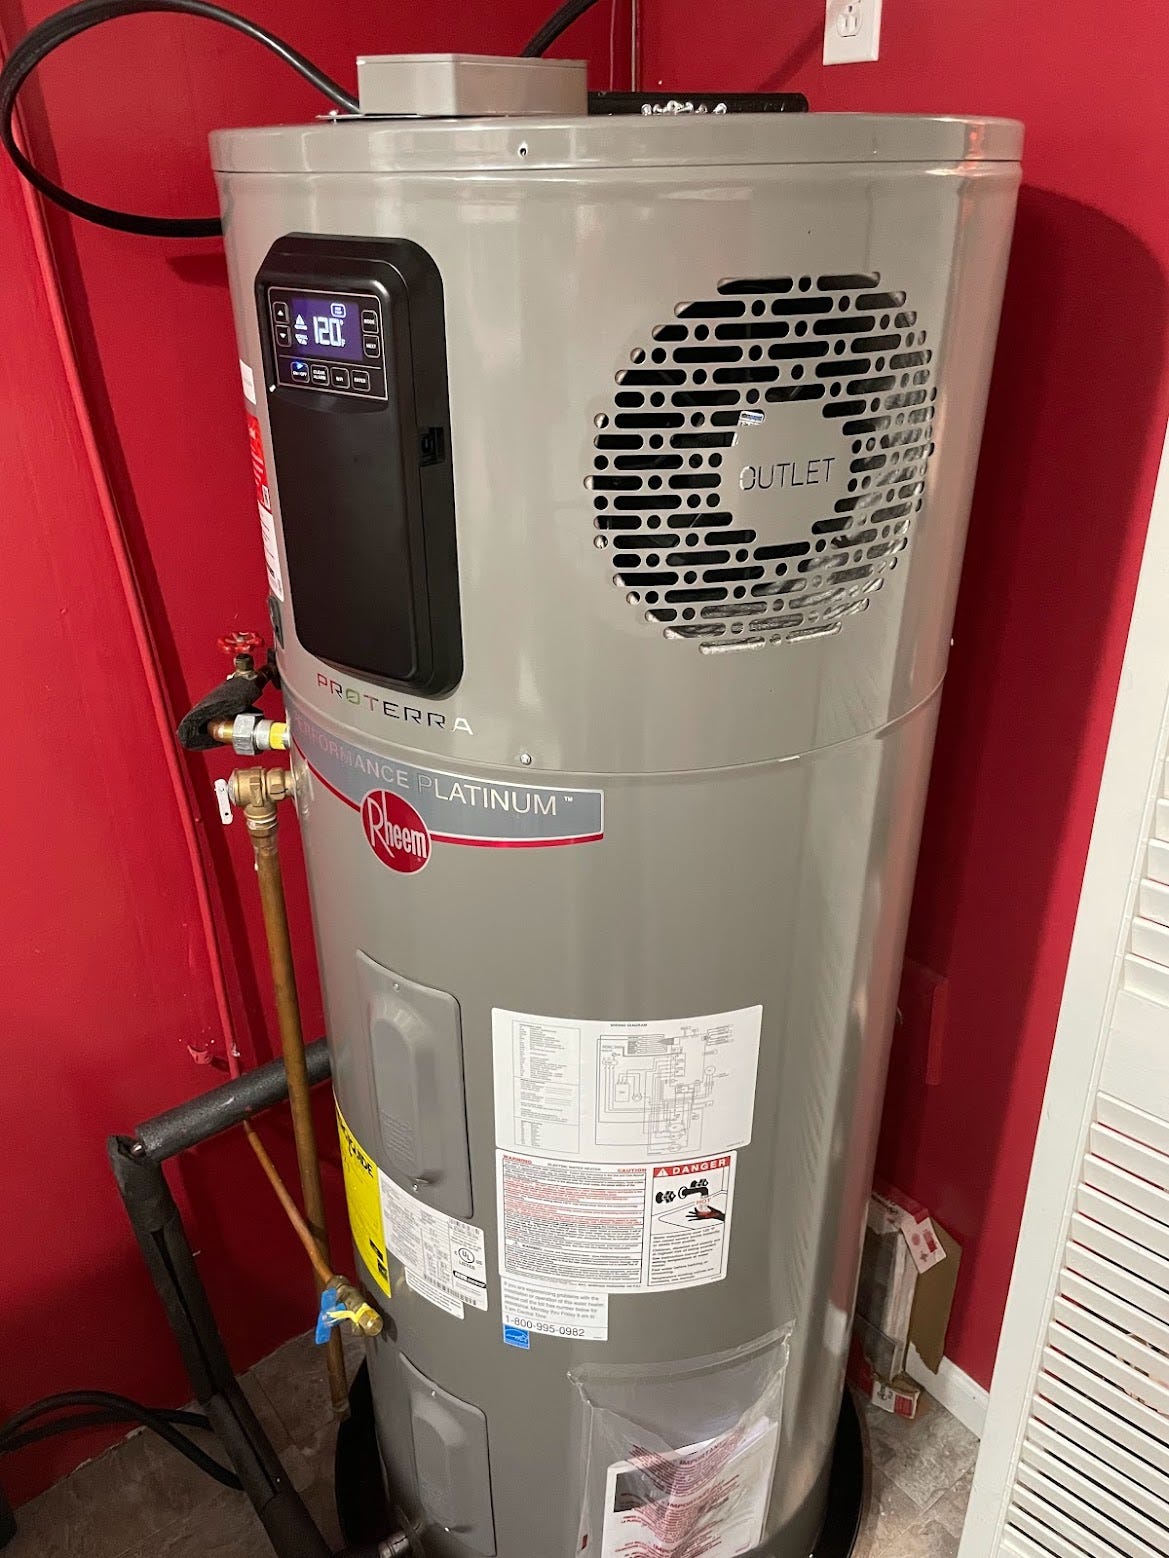
We looked at our water next. It was right before summer, and some A/C in the house would be a nice perk. Besides that, ditching our propane water heater in favor of one with a heat pump would save us money - $300-$400 or so a year, and so we wanted to start saving right away.
Out-of-pocket cost was around $2k, with a few hundred more for tools. We went from a 50-gallon tank to a 65-gallon one. The small price difference seemed worthwhile to make sure we had a good experience with the new technology. The heater comes with four buttons, which let you change modes from full heat-pump (most cost efficient, but puts out cold air you might not want in the winter) to full classic/resistance electric (more expensive, but doesn't remove heat from the house). We've found the cooling effect to be mild.
If I were to do this again, I would consider getting one of Rheem's 110v versions instead of a hybrid on 240v. That wouldn't have the classic/electric heating element, but we've been fine only using the heat-pump mode, and that would have saved us the extra wiring as well as valuable space in our circuit-breaker box.
Heating our House
The trickiest job, saved for the end. Our home has a wood-stove on one end, and a propane monitor on the other. To do this by the book, one would first weatherize the home, and then have mini-splits installed to replace the propane, while leaving the wood-stove for backup. We decided to take the Window Dressers approach for weatherization, and move on.
We gathered a few quotes for the mini-split, which ranged about $6k-$7k, without including wiring from one end of the house to the other. While I was obsessing over the technicalities, I discovered that Senville makes a decent cold-climate rated heat pump, available online. (Note: make sure any heat pump you consider in this area is rated for full heat output at -13°F or below). (Second note: the current Senville heat pumps are unfortunately significantly less cost-effective to run than the Mitsubishi, Fujitsu, Daikin, and others. Typical COP of 2 vs 3).
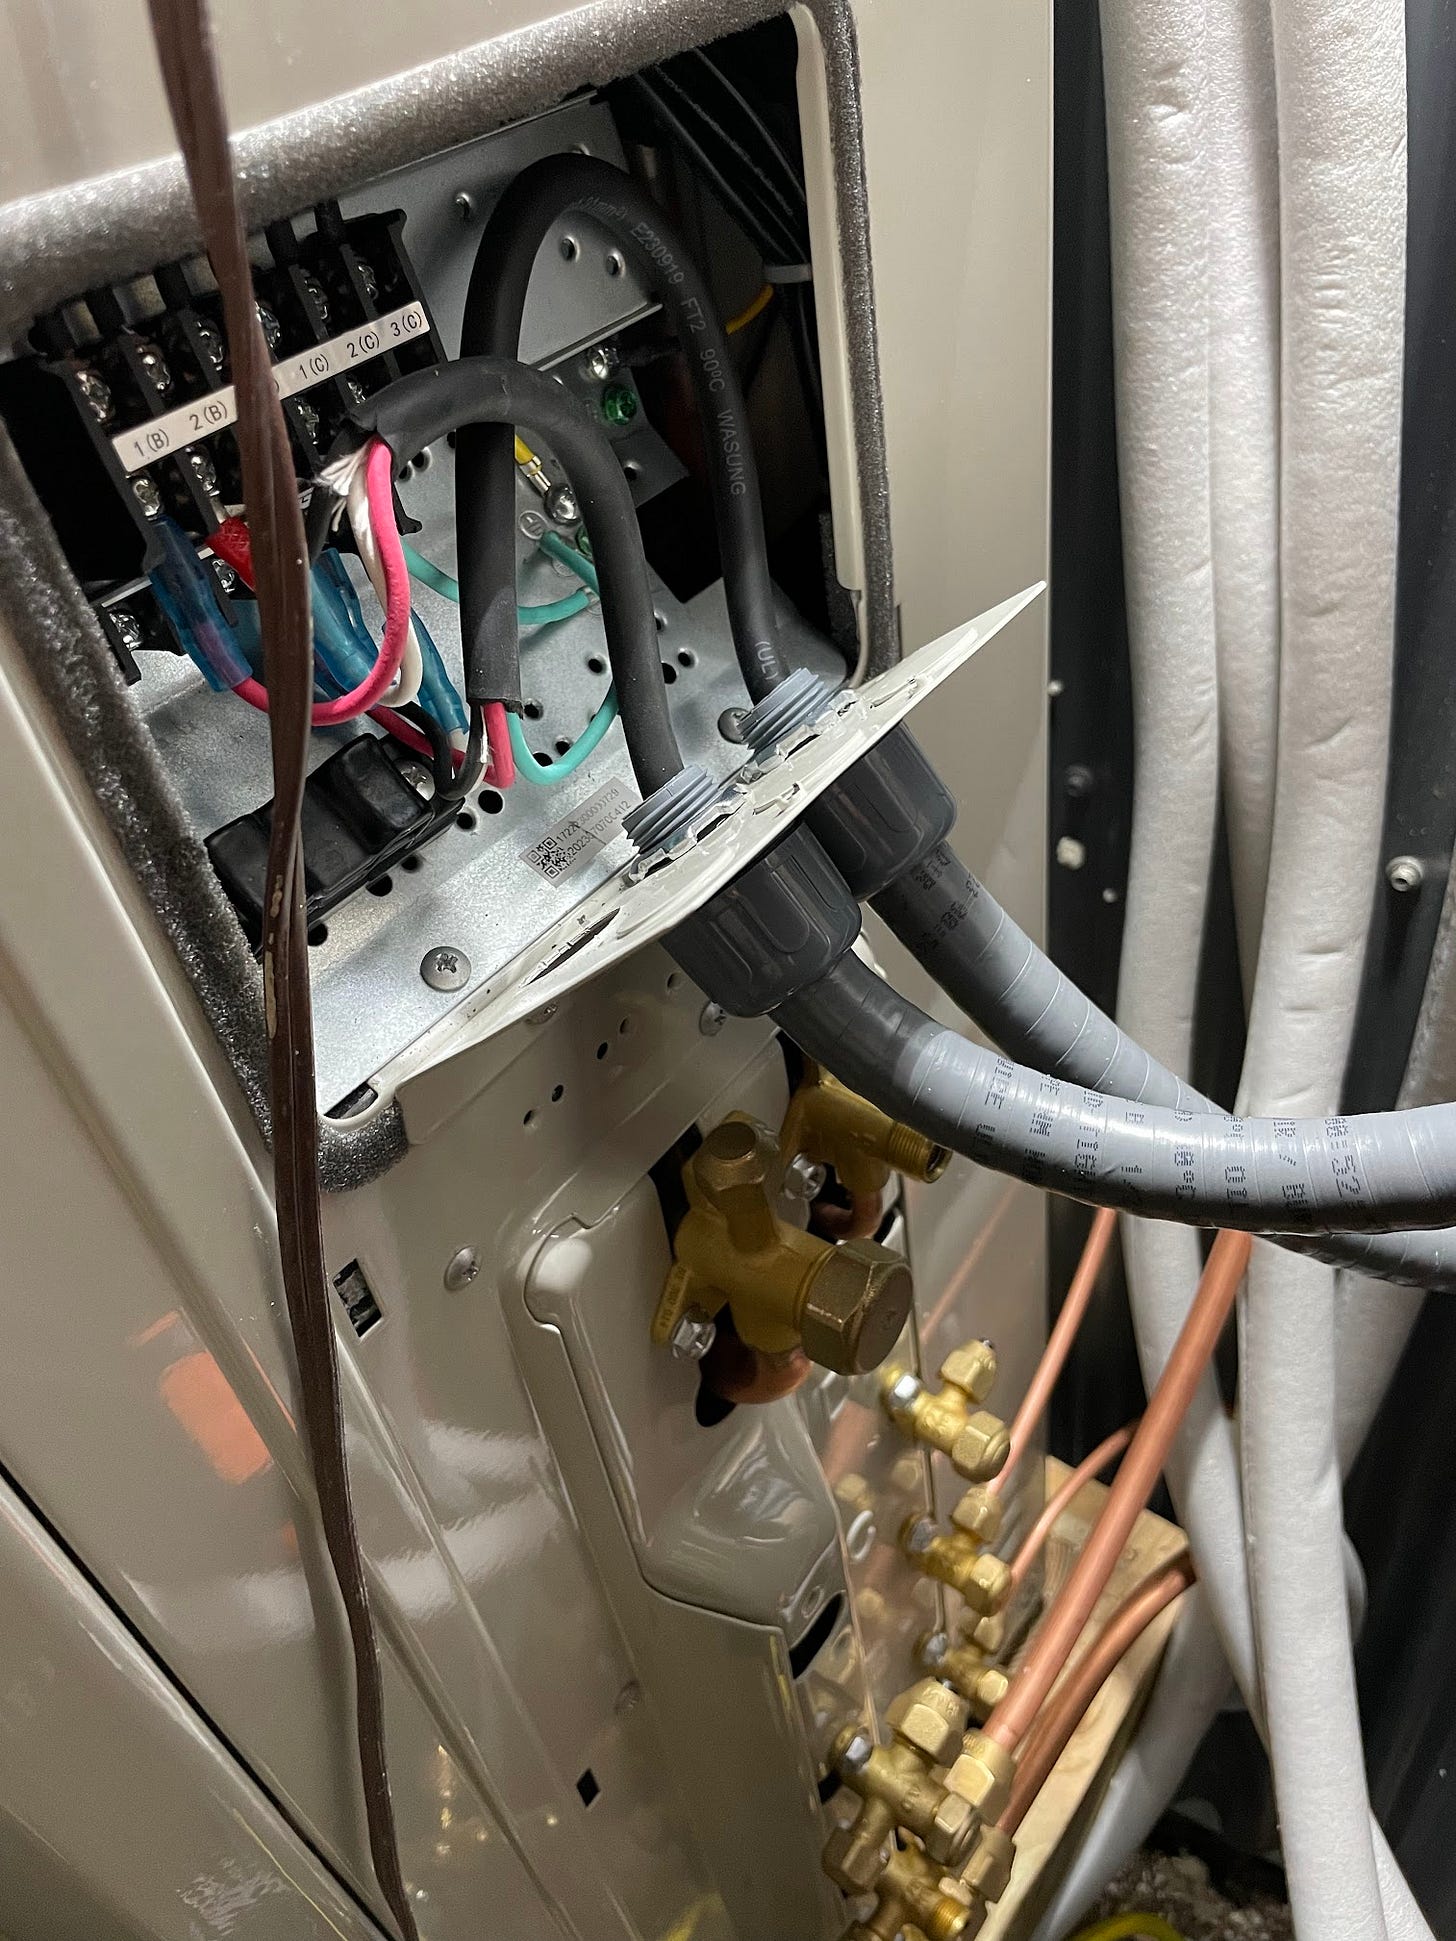
Joining forces with a friend, we undertook the significant task of teaching ourselves to become amateur HVAC technicians. On the plus side, we'd get heat pumps for one third the cost for both of our homes. On the downside, we would not have warranties on the completed projects, and if we messed up, we would run the risk of destroying the units, or venting refrigerant into the atmosphere with thousands of times the Greenhouse Warming Potential of CO2.
After about a month of prep, $600 in tools, and a couple of days' install per-house, we have two units installed and holding strong as the winter months kick in. Yes we messed up along the way, and no we didn't accidentally leak refrigerant.
If I were doing this again, I would consider a monobloc unit. These are uncommon, but far friendlier to install DIY. A monobloc heat-pump keeps all its refrigerant inside a single machine (the block), avoiding the need to run refrigerant lines into the house - the hardest part of the install. Instead, air or liquid enters the house after being warmed. These are far more common in the UK, but I'm not sure if they provide cooling in the summer.
Heat pumps in the US often have an efficiency factor (COP) of around 4. They output four times the energy in heat as they take in in electricity. This factor drops as outdoor temperatures drop. A seasonal average for Vermont is typically around 3, or less if you're at higher elevation. New heat pumps will eventually get here, with Propane, CO2, or R32 as refrigerants, which can push that COP up to 5x.
Total costs: $150 induction burners + $2,100 water heater + $2,000 mini-split + $600 tools + $300 misc = $5,150
Subtract 30% tax credit and $650 Efficiency Vermont incentive for the water heater and we get: $2,955 total cost!


Share this post